Collaboration
Collaboration via Github
The following is a very simple primer on Github and Git whose objective is to show you how to effortlessly download Hermes and eventually contribute to the project by creating an interesting example, fixing a bug, improving documentation, etc. We begin with creating a free account at Github, fork the Hermes git repository, clone your Github copy to your local computer, and continue through setting up the .gitconfig file, creating a new branch, committing changes, pushing them to your Github repository, and generating a pull request. Some good references for further reading are given after that.
Create a Free Github Account
Go to the Github home page. Click on “Plans, Pricing and Signup” and then on “Create a free account”. You’ll be asked to enter your username, email, and a password. That’s it, it does not take much time, and it is free for open source projects.
Fork the Hermes Git Repository
Enter your account using the “Login” link in the upper right corner. Type “hpfem” into the search line in the upper right corner and hit enter. You will see a list of several repositories and one of them will be “hpfem / hermes”. Click on it and this will bring you to the Hermes page at Github. Click on the “Fork” button in the upper part of the page. This will create a copy of the Hermes repository in your Github account, establish important links to the master Hermes repository, and add you to the Hermes network.
Generate and Register Your Public SSH Key
Start by generating the public ssh key typing (on Linux):
ssh-keygen
You will be asked to enter a file for the key to be stored, and a passphrase. The passphrase may be left empty. After the file with the key is generated, open it in some text editor. Then return to your Github page, click on “Account Settings”, and on “SSH Public Keys”. This is where you need to paste the public key that you just generated on your computer.
Download Hermes to Your Local Computer
Once your public SSH key is registered at Github, you can clone the Hermes repository from your Github account to your local computer. This is done by typing:
git clone https://github.com/your_name/hermes.git
Now you can build Hermes as described in the Installation section above.
In the next paragraphs we describe how to work inside the Hermes Git repository on your local computer.
Create the .gitconfig File
The .gitconfig file can be used to define your identity for git as well as useful abbreviations. Change dir to your home directory. Then adjust and save the following as “~/.gitconfig”:
[user]
        name = Pavel Solin
        email = solin.pavel@gmail.com

[core]
        editor = vim

[color]
        ui = true
[color "branch"]
        current = yellow reverse
        local = yellow
        remote = green
[color "diff"]
        meta = yellow bold
        frag = magenta bold
        old = red bold
        new = green bold
        whitespace = red reverse
[color "status"]
        added = yellow
        changed = green
        untracked = cyan
[core]
        whitespace=fix,-indent-with-non-tab,trailing-space,cr-at-eol

[alias]
        st = status
        ci = commit
        br = branch
        co = checkout
        df = diff
        lg = log -p
Create a Local Branch
Change dir back to hermes/hermes2d/ or hermes/hermes3d/ where you were before. Whenever you want to do any changes, such as modify an existing example or create a new one, always create a local branch - do not work in the master branch.
You can get an overview of existing branches by typing:
git branch
This will show you something like this:
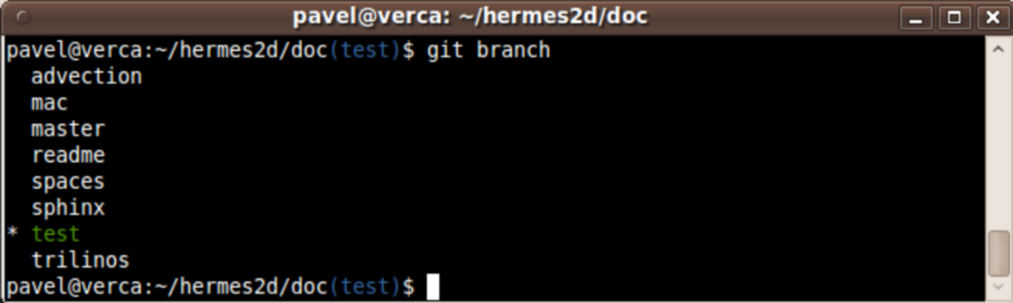
If this is your first time, then you will see just the master branch with the star next to it, which tells you that there are no other branches.
A new branch is created by typing:
git co -b test-1
where test-1 is the name of your new local branch. Now you can do any changes you like and you do not have to be afraid of damaging your master branch. HOWEVER, you always must commit your changes as described below. Unless you commit your changes, Git does not know that they belong to your local branch. This may cause conflicts, you may not be able to update your local repository, you may not be able to switch branches at all, etc.
Commit Your Changes
Say that you modified an existing or added a new file “file.cpp”. In order to register the new changes, type:
git add file.cpp
You can do this with as many files as you like. Use the command:
git diff
to see whether you have unregistered changes. If all your changes are registered, the command will print nothing.
After all your changes are registered, type:
git commit
This will invoke a basic text editor where you will be asked to enter a one-line comment describing your changes. Without this line, your commit will not be accepted.
Push the Changes to Your Github Account
You cannot push to the master repository of Hermes directly. The way to get your changes there is to first push them to your Github fork and then send a pull request to the Hermes network. To push your changes, type:
git push https://github.com/your_name/hermes.git test-1:test-1
This will push your local branch test-1 to a branch of the same name at Github. Now you can go back to your Github account, click on “Commits” and you should see your changes there.
Send a Pull Request
In order to submit your changes to the Hermes network, click on the button “Pull request” in the upper right part of your Github page. Describe the changes you did in the text window that appears. On the right you can see a list of people who wil be notified about your changes. You can preview your pull request by clicking on “Preview” above the text window. The source and target branch are displayed above the text window and you can change them when you click on them. When you are ready, click on “Send pull request”.
For more details on pull requests visit this page.
Switching Branches
Before changing to a different branch in your local repository, type:
git status
You will see something like this:
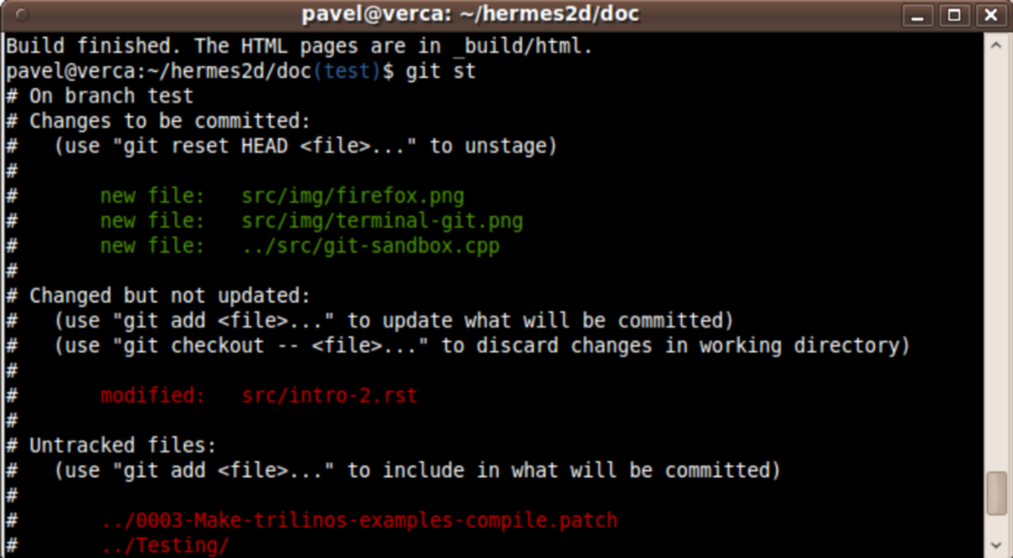
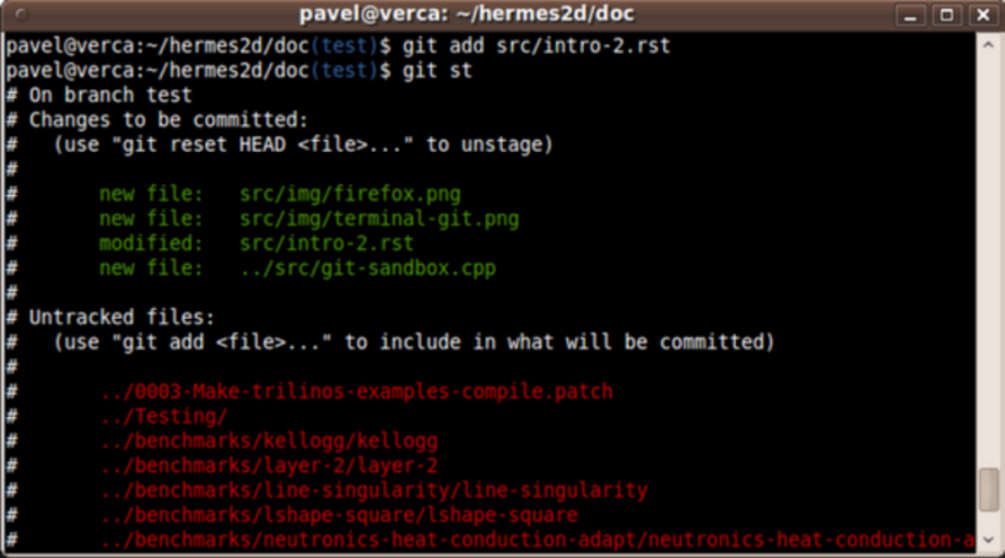
The green font tells you that git has the latest version of the file. All modified files in red need to be added using “git add”. It is a good idea to go through the untracked files too, in case that you wish to add some of them as well. Related to the sample screenshot above, after typing:
git add src/intro-2.rst
git st
you will see
Now you can proceed with “git commit” as described above. After the commit, you can switch to a different branch by typing:
git co branch-name
Further Reading
Git and Github are very powerful tools and we covered just a tiny part of the story. After you familiarize yourself with the contents of this simple primer, read more in Pro Git.
Also watch this YouTube video. by Scott Chacon.
Good luck and let us know if you think that this document could be improved!